Hey guys, today I am going to show you how to make a versatile wing harness. It’s simple to make but may take some work to adjust it properly. The great thing about this design is that you can use one harness for all your wings since the wings will be detachable for easy transportation and storage!
You will need:
-Basic sewing supplies
-Black felt
-Vinyl woven straps often used for backpacks
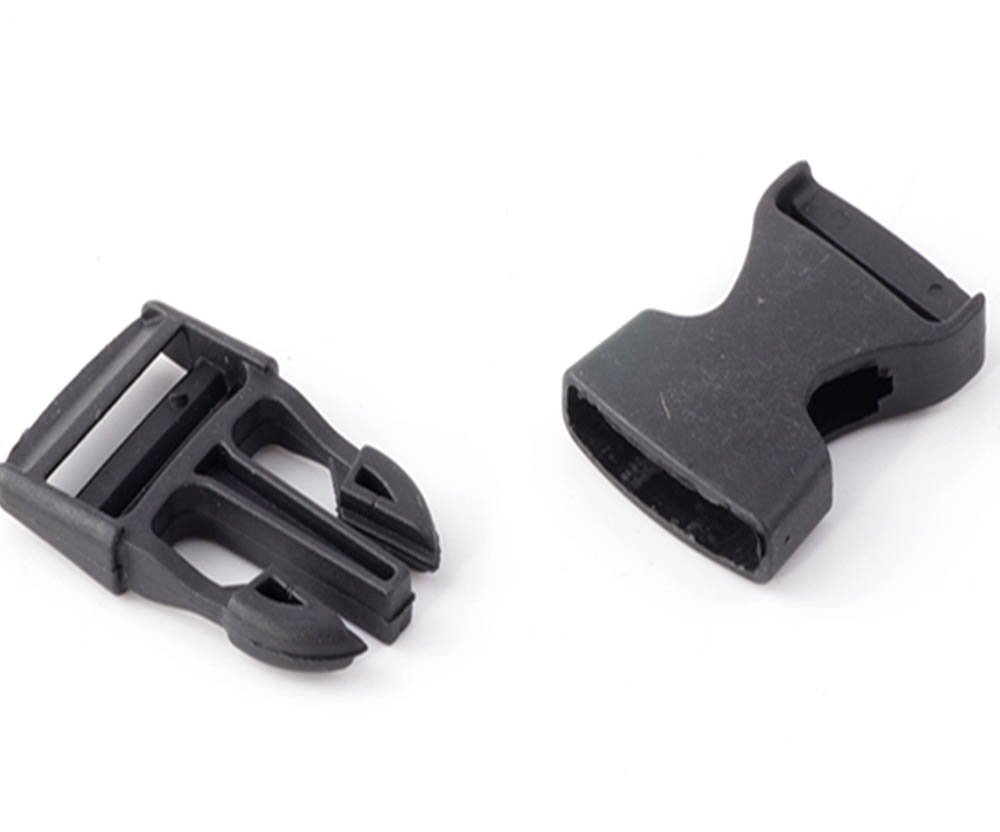
-Clip buckles x3
-Small wooden rectangle (Approximately 6″ x 6.5″, at least .25″ thick)
-Saw
-Adjustable flag pole holders x2
-Hot glue
This is the basic pattern of what we will be making:
The numbers refer to clip placement and which clips attach where. Black lines are the vinyl straps, the grey box is black felt, and the wooden base will be glued on top of the felt.

Step 1:
Cut the wood to shape. This will depend on your project but it needs to be big enough to mount both of the flag pole holders onto. I cut mine to be about 6.5″ by 6″. (I included the ruler for reference not realizing that you can’t even see the numbers.) I cut off the corners and sanded the edges a bit so they wouldn’t be sharp. I also glued a piece of 2mm foam to the back because the wood i used had some irregularities and I don’t want to risk splinters!

Step 2:
Cut out two layers of felt a little wider than your square and about 4 inches longer. You can see the felt I used in the image above and how it relates to the size of the wood. Sew them together all the way around the edge. You dont need to turn it inside out or anything.
Step 3:
Now comes the hard part, measuring all the vinyl straps out. The first and easiest one to do is the waist strap. I made mine by sewing half of a clip to one side of the strap. Slip the strap through the matching clip and measure it just under your chest, a little higher than your waist. If you have boobs, this should rest comfortably below them. You don’t want it to be too tight so that you can’t move or breathe comfortably, but also don’t make it too loose. It should allow you enough room to stretch to the left and right without it getting too tight. Sew the second clip piece down and cut the vinyl accordingly. You should now have a long strip of vinyl with matching clips at either end.
Waist step and buckle 3 in the diagram above.
Step 4:


Excuse the cat fur all over the felt!
You now want to sew the two long straps down the front. These will run from the top corner of your felt down to the waist band. If you have boobs, you’ll probably want these to run along the outside of them for comfort reasons. How long these are depends completely on how high or low you want the back of the harness to sit, and body type of course. For me I have the top of the felt about an inch below the base of my neck. I would recommend pinning these in place and adjusting as needed, or sewing them lightly down in case they need to be moved later.
Step 5:

Next we will make the straps that run from the bottom of the felt, under the arms, and attached to the two straps we just made. This will keep the bottom of your harness in place. For me this was the hardest part to measure. I basically took half a buckle and attached it to 3 inches of strapping which I then sewed to the bottom corner of the felt. I then attached the buckles other half to a longer piece of strap, clipped the two together, and used the free end of the strap to measure. You want this support to run under your arms. It shouldn’t be very tight at all and should be loose enough to give you free range of movement. You can see the strap in the image above, just under the mannequins arm nub.
Step 5:
The last strap goes straight across the chest. This one may be a little tight but it shouldn’t restrict movement at all. Test out your harness at this point and make sure you can move properly and that the felt square int he back is where you want it.
Bonus Step 6:
I originally don’t have any sort of felt to disperse the weight and after a days wear, the harness straps started to cut into my shoulders. I got 6 mm foam and made some padding.


This greatly increased the comfort. It’s glued under the shoulder straps and I cut out a piece where my neck is. This helps disperse the weight of the wings and makes it easier to wear for longer amounts of time!
Step 7:
In order for the wings to be detachable you will need a specific type of flag pole holder. I bought mine at home depot. It HAS to be the adjustable kind that comes apart into two pieces. One we will mount permanently to the harness and the other will be the base of the wings. It’s a very simple set up.


Glue the base (the square piece) of the flag pole holder to the wood. I used hot glue for this and it holds just fine.

Make sure they are facing opposite directions. The first time I made one I accidentally had one upside down so the “teeth” were both facing right. Made it very tricky to work with and the weight wasn’t even so I had to redo it. I prefer having the “teeth” on the inside. I also glued mine at an angle.
Once that’s done, glue the wood to the felt of your harness. You will want a little felt at the top and the bottom.

Below is a prototype harness and my first attempt, but you can see about where the flag pole holders and felt backing lay on the mannequin.

After that your harness is done! You’ll want to build the wings around the flag pole holder so you can clip them into place when done. Test the fit and the weight often. I haven’t had any trouble with mine and the harness I made keeps my wings firmly in place with no slouching. I can adjust the height of them easily, and when they get too heavy they are super easy to take off. The harness is also pretty non-intrusive. I have mine hidden neatly under my Mercy outfits and you can barely tell! (Pics below)
Hope this was helpful! Honestly, my directions suck but I think you can make something good using the pictures and diagram alone!
Here’s the harness in action. I was jumping, spinning, and running and the wings never once fell out of place! They moved beautifully with me and I was able to wear them for 8 hours straight. These are silly behind the scenes photos, don’t take me too seriously! As always, message me with any questions!


I love this ! And find it helpful, but I gave one question if the wings are made out of foam and large do you think this would work?
this helped me so much thank you for sharing this!