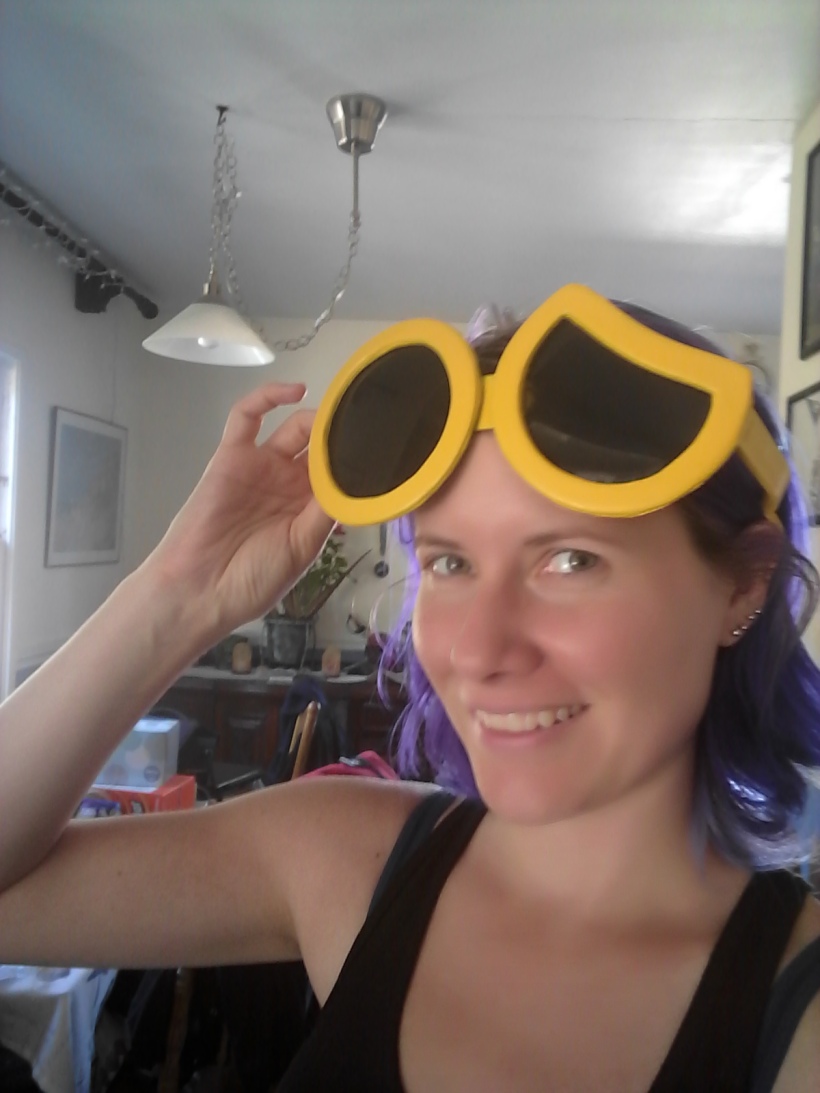
Hey guys, I have a quick tutorial for you today on how to make Guzma’s glasses!

What you’ll need:
-2mm craft foam
-Large costume glasses (available at Party City)
-Glue
-Worbla (optional)
-Yellow Paint
-Black Paint
-Satin Clear Spray Paint
-White Plastic Primer Spray
Step 1:
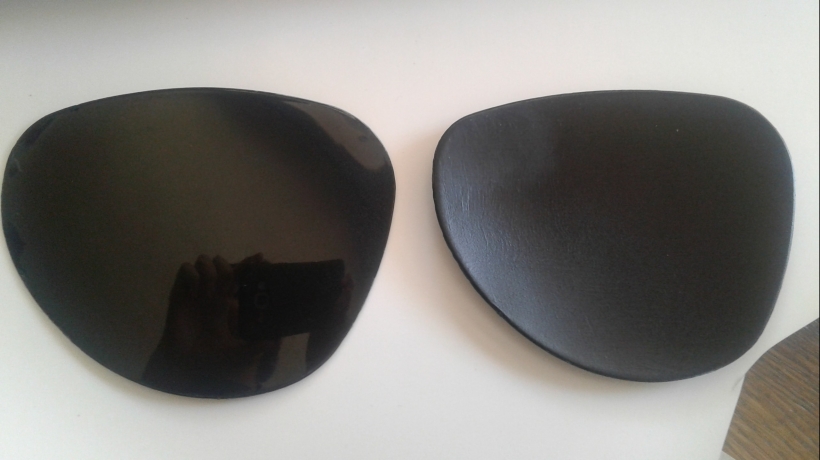
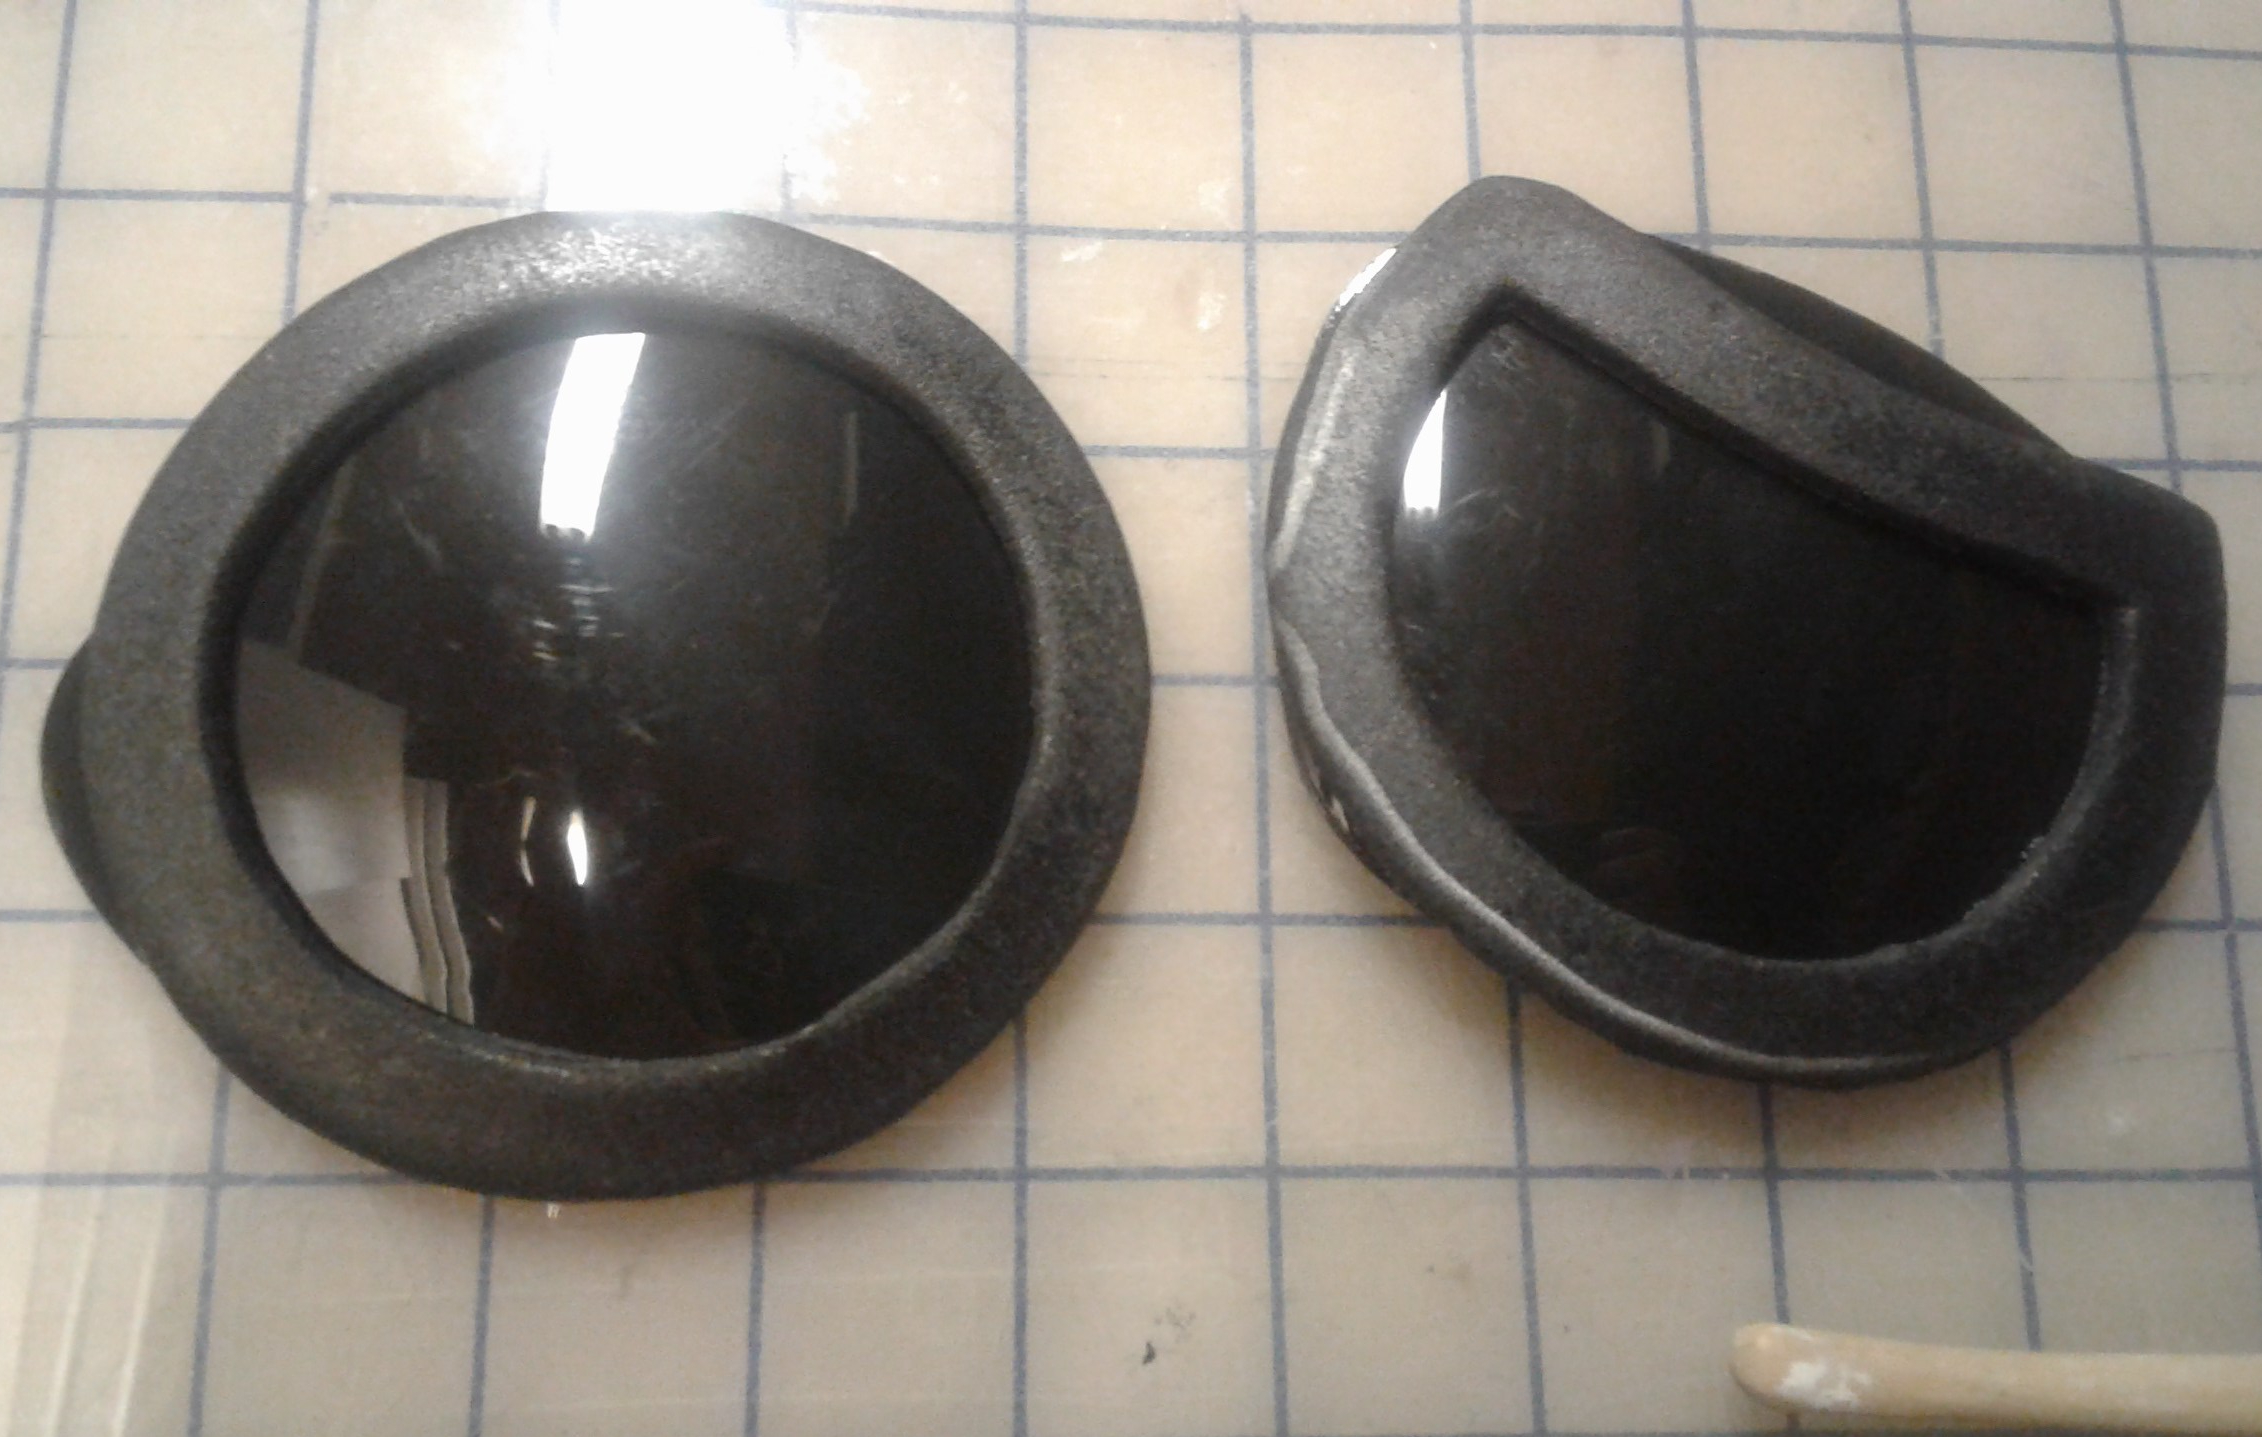
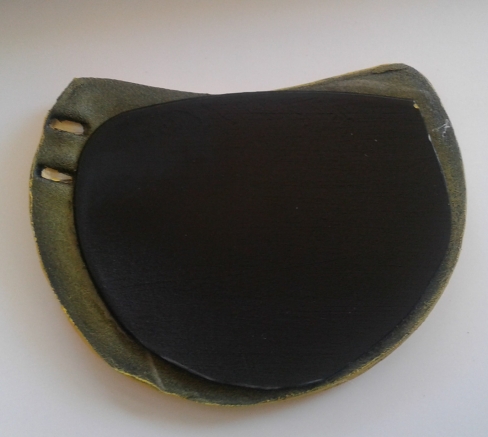
Get the costume glasses! Pop out the lens carefully and detach the sides.

Paint the back of the lens black. You don’t have to if you want to be able to see out of the glasses, but I intend to wear these on my head the whole time and I think it looks much better with the black backing. Don’t spray the front or you’ll lose that plastic/glassy sheen.
Step 2:
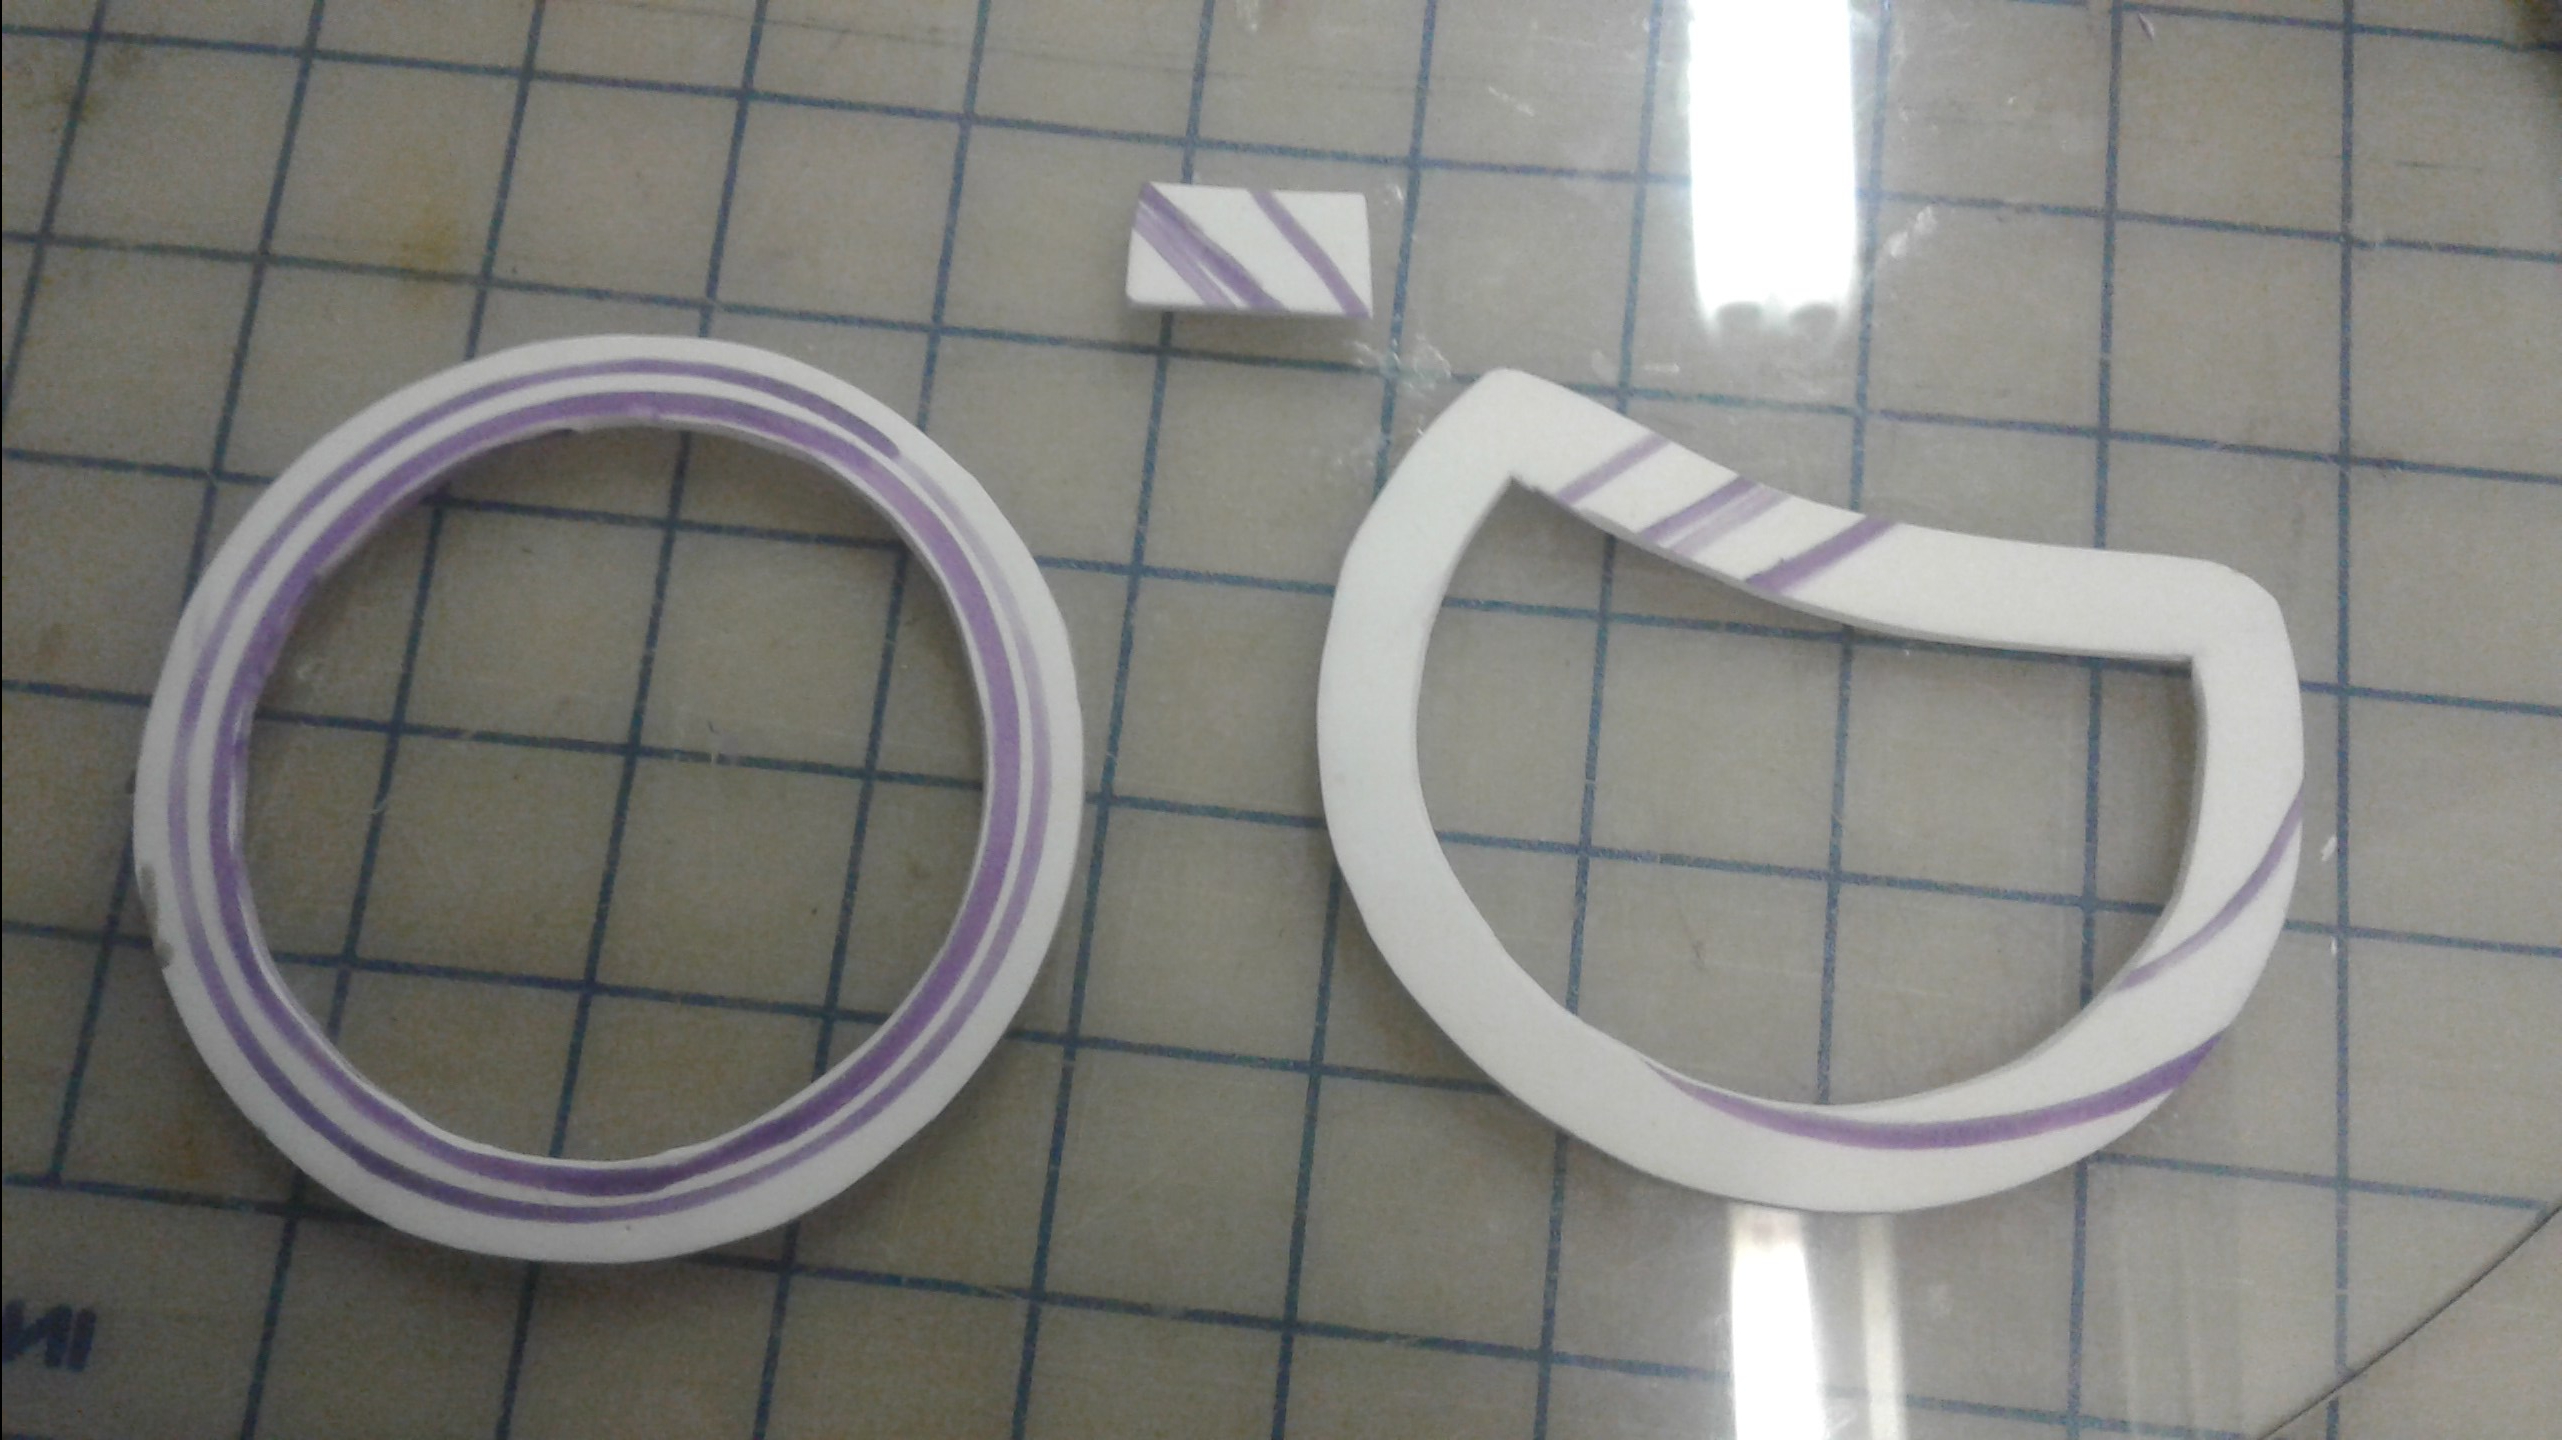
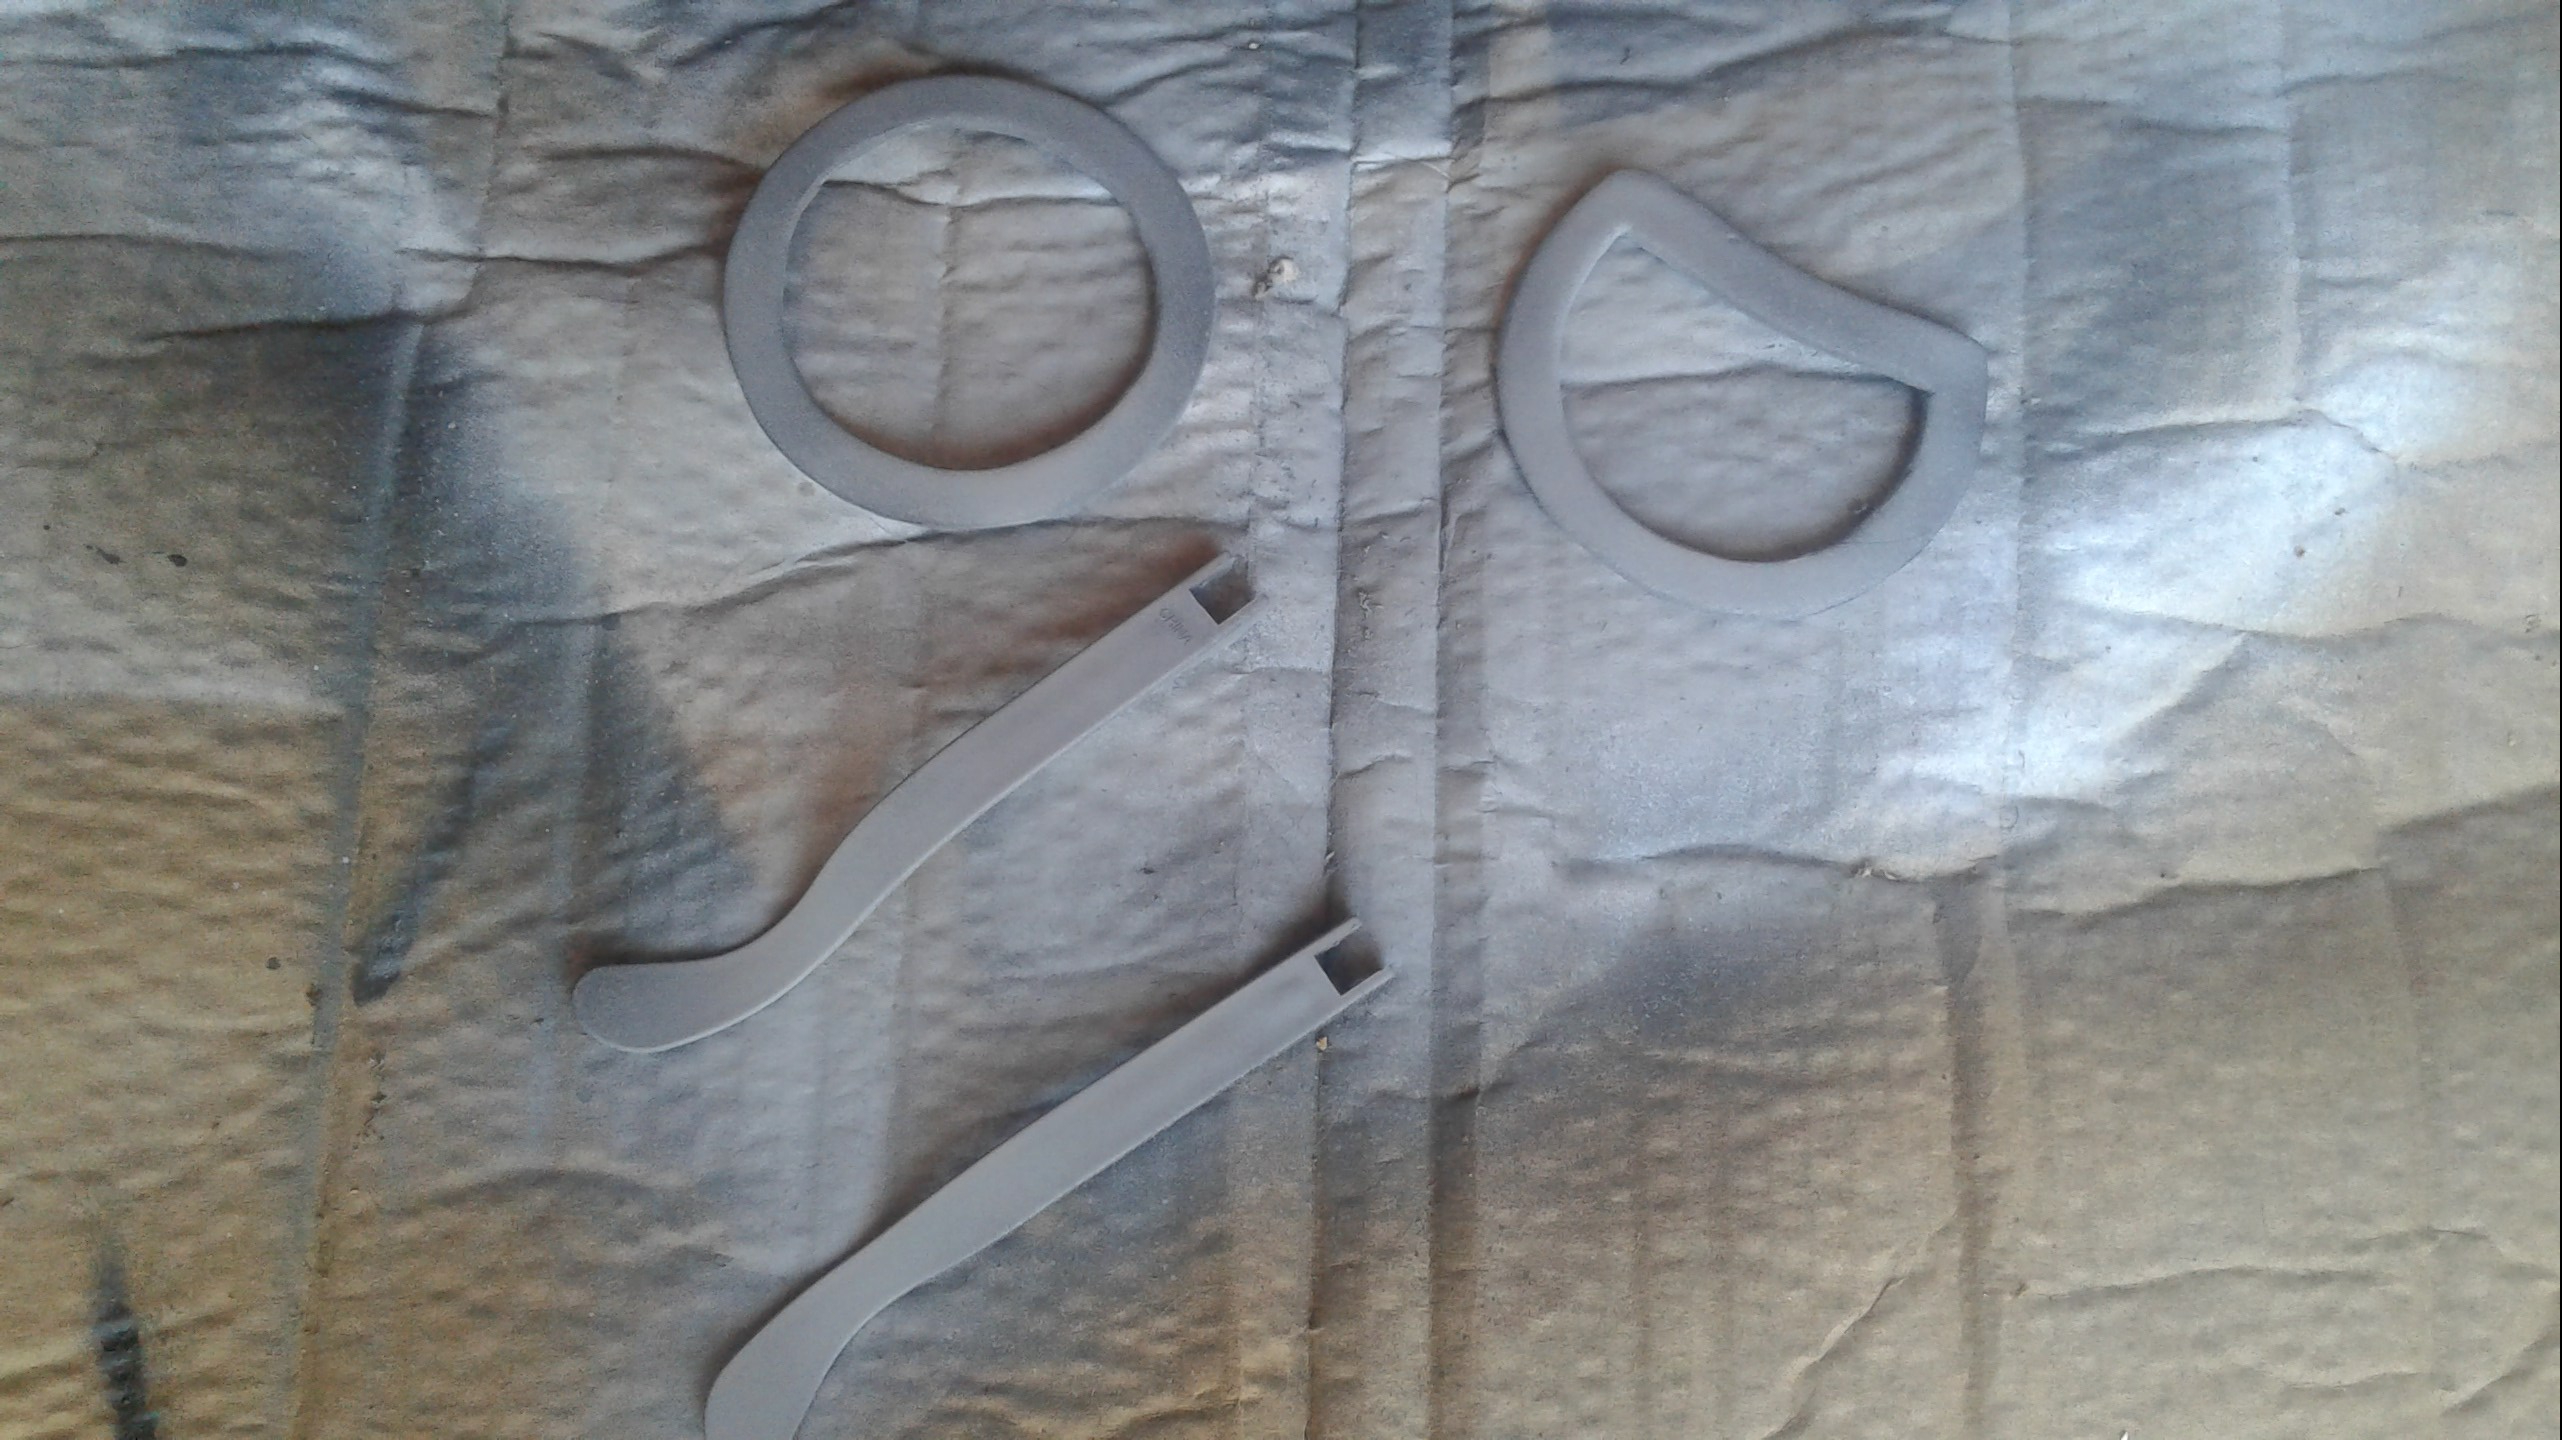
Cut the foam into shape. I used two similarly sized cups to trace circles, then drew in the bend on the one lens. I also cut a small rectangle for the pieces that connects the two lens over the nose.
Step 3 (Optional):
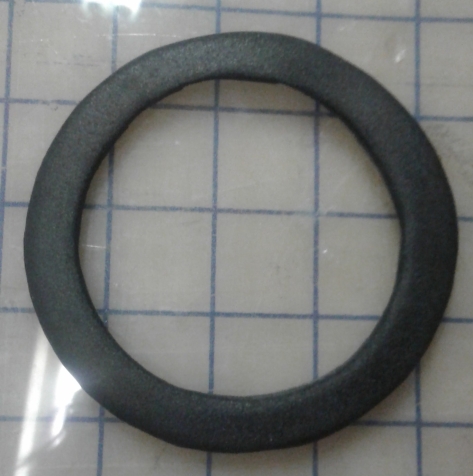
I’m not usually a fan of the “sandwich” method when it comes to worbla, but since these pieces are so small and thin, I think I works well here. Basically you will want to cut out two peices of worbla a little bigger than the foam shapes. Heat them both up and sandwich the foam between them. Keep the top layer warm and maliable, then using a pen or other pointed object (I use woooden sculpting tools) press down around the foam shapes to fuse the two pieces of worbla together. Then cut off the excess worbla. Do this for both shapes.
If worbla is too expensive, this step can be skipped. I like using the worbla though because it makes the frames more sturdy and rigid. It will help the glasses last longer.
Step 4:
Heat the worbla until it’s warm. Lay the frames over the lens to get the subtle curve and so the lens will fit better.
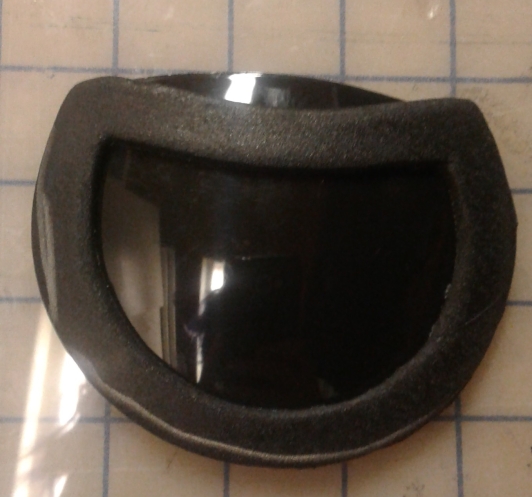
Trim away the extra lens so it fits behind the frame. Don’t let the worbla stick to the lens, keep them separate for now!
Step 5:
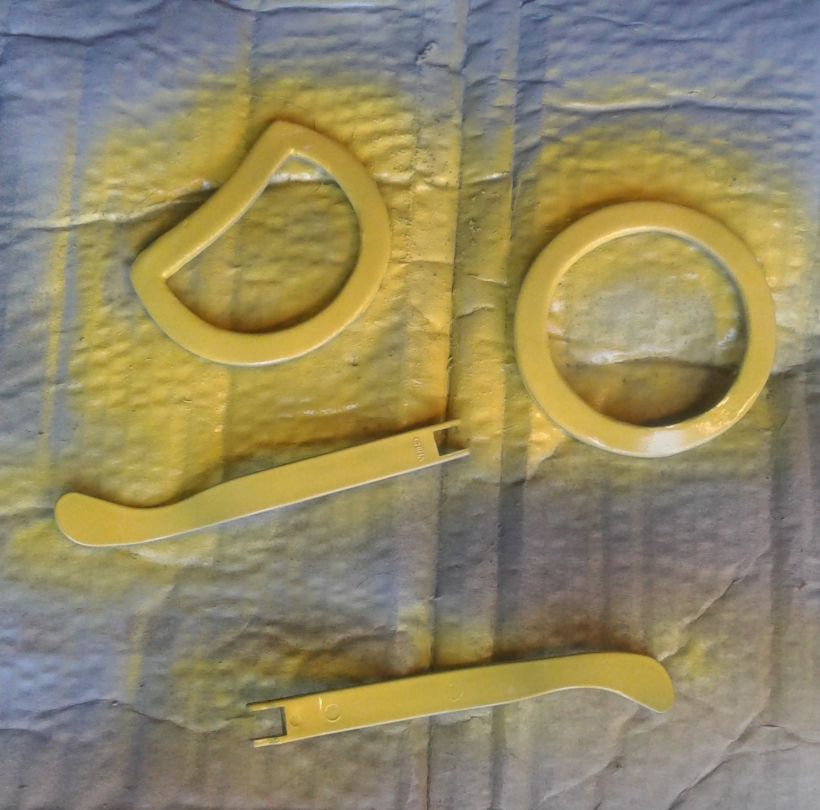
Gather all the pieces except the lens and spray them with the primer. This will help the paint stick to the plastic. Once that’s dry, paint them all yellow. Finally, spray it all with the clear satin spray. (Don’t forget the little rectangle that connects the lens! I forgot it in these pictures)
Step 6:
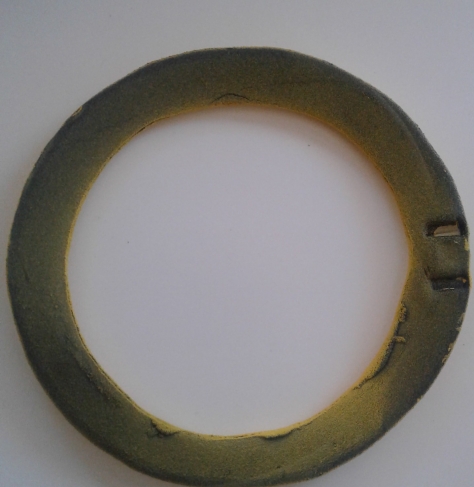
If you’ll notice in the picture above, the side pieces have two prongs on them. I trimmed these a little shorter then pressed them into the worbla while it was warm. Make sure to measure and mark where you want these to go.
Step 7:
Glue it all together and done!


Step 8 (Optional):
I haven’t done this part yet, but I am going to glue little neodymium magnets to the inside of the glasses and another set on the wig. That will keep the glasses in place while making them totally detachable!
Let me know if you have any questions! I hope this was helpful!

Thanks for this tutorial, your glasses look really awesome!
The question i have now is that you said to “Trim away the
extra lens”, but how exactly did you do that?
The glasses I bought from Party City were very cheap so the lens were made from plastic, scissors were enough to cut them!